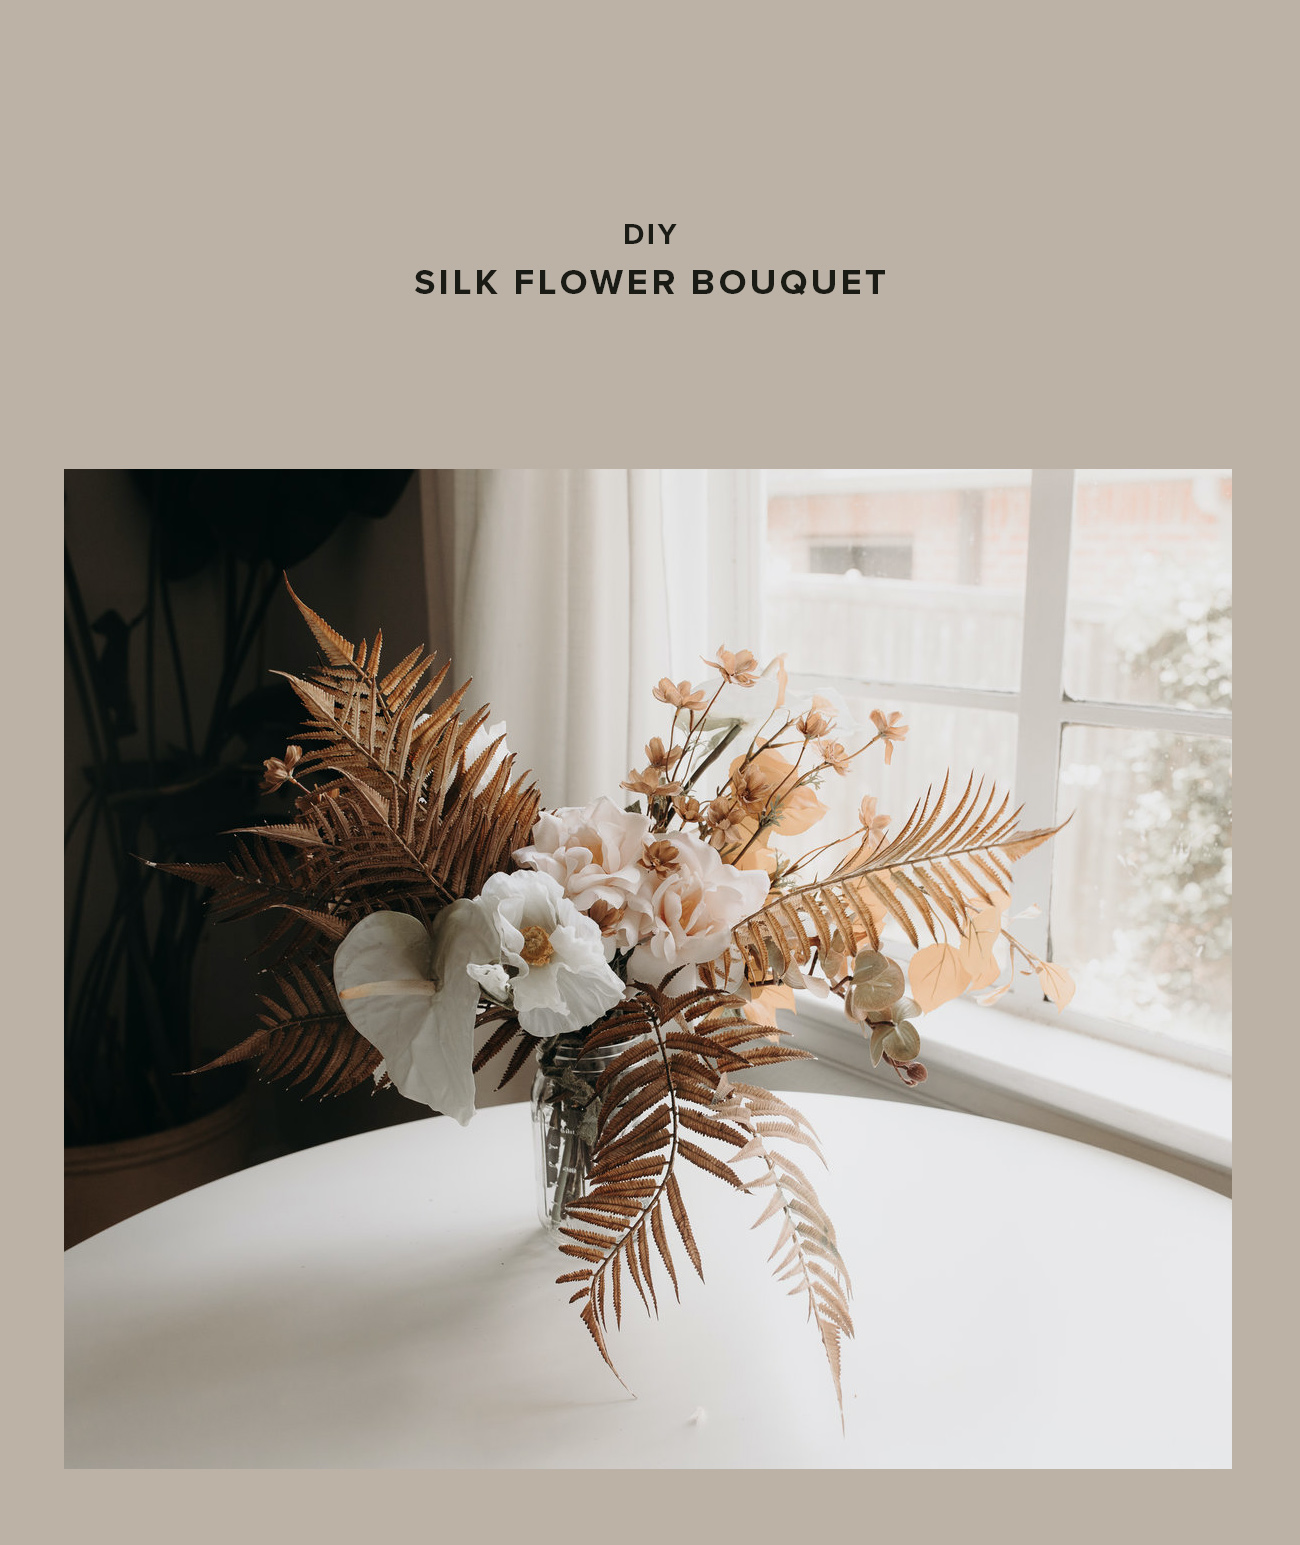
Boho bridal bouquets and pampas grass…two of our favorite things. Want to know what else we love? Rad DIY projects. With the help of Valerie Thompson Photography, today we’re putting together a gorgeous silk bridal bouquet that’s truly a bohemian bride’s dream!
A silk bridal bouquet has many advantages, which is why we felt this project was important to try. Firstly, a faux bouquet is typically more affordable than a fresh floral arrangement. It’s also easy to travel with for, say an elopement; and more durable against inclement weather. So, unearth those mad DIY skills and make your own boho bridal bouquet
Here’s how we did it:
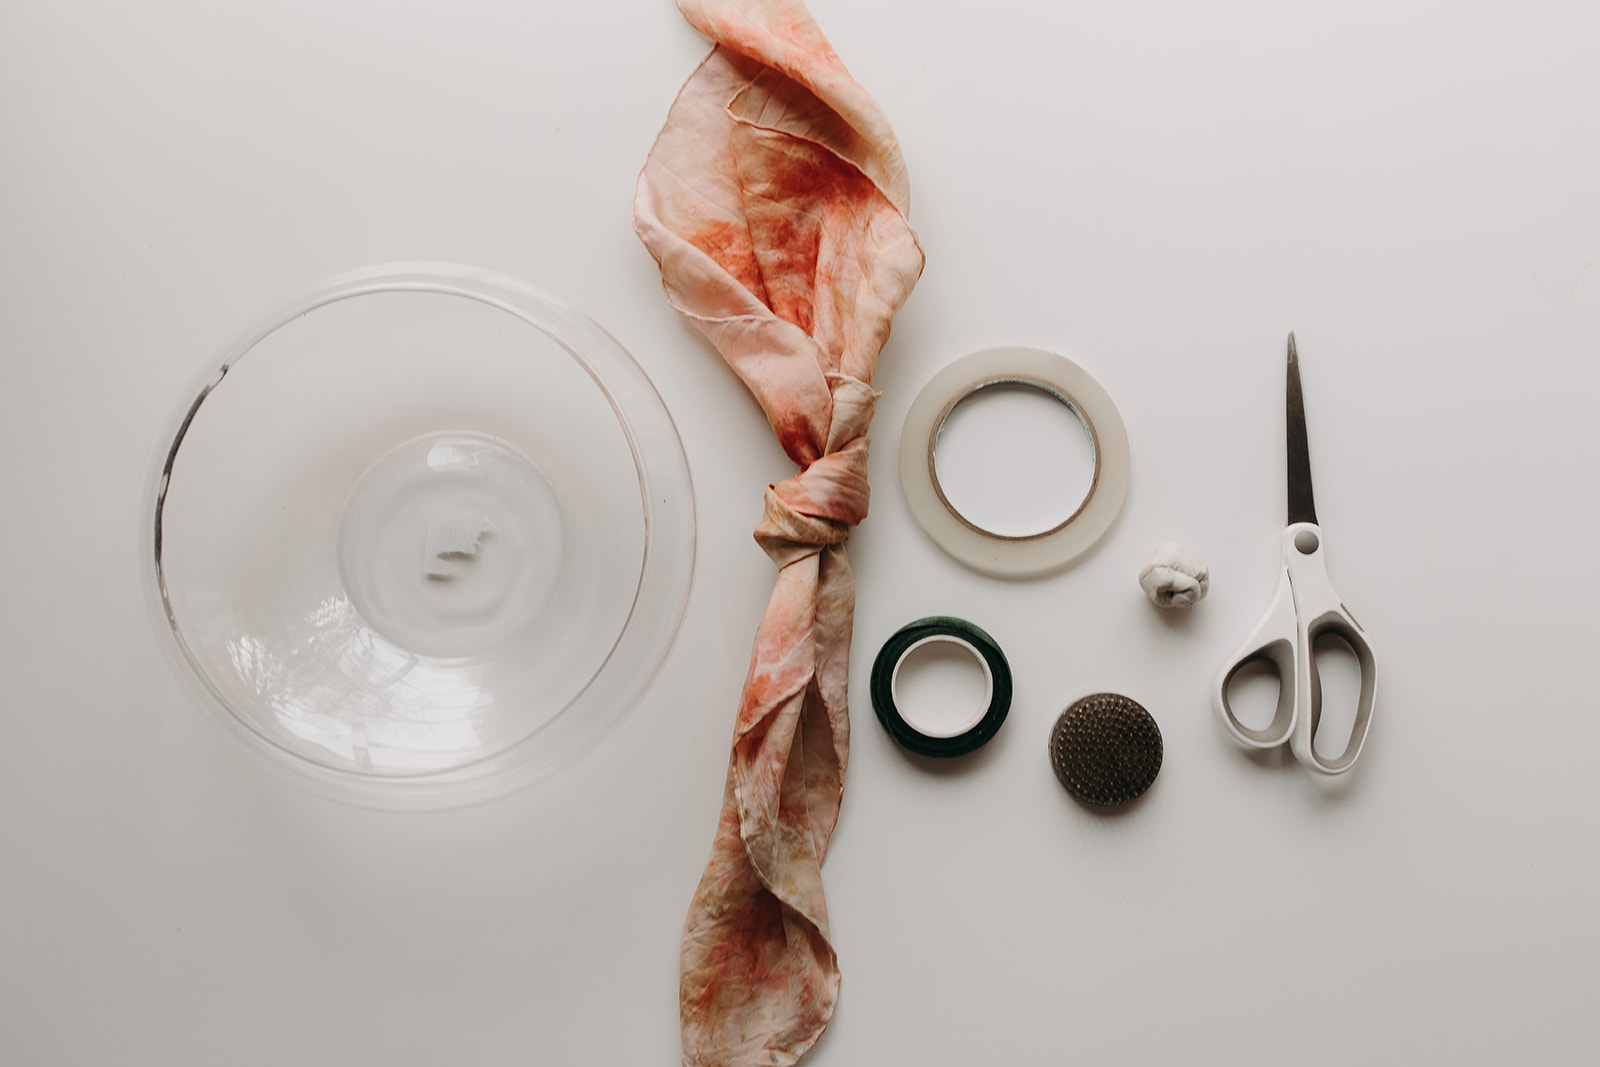
What you’ll need:
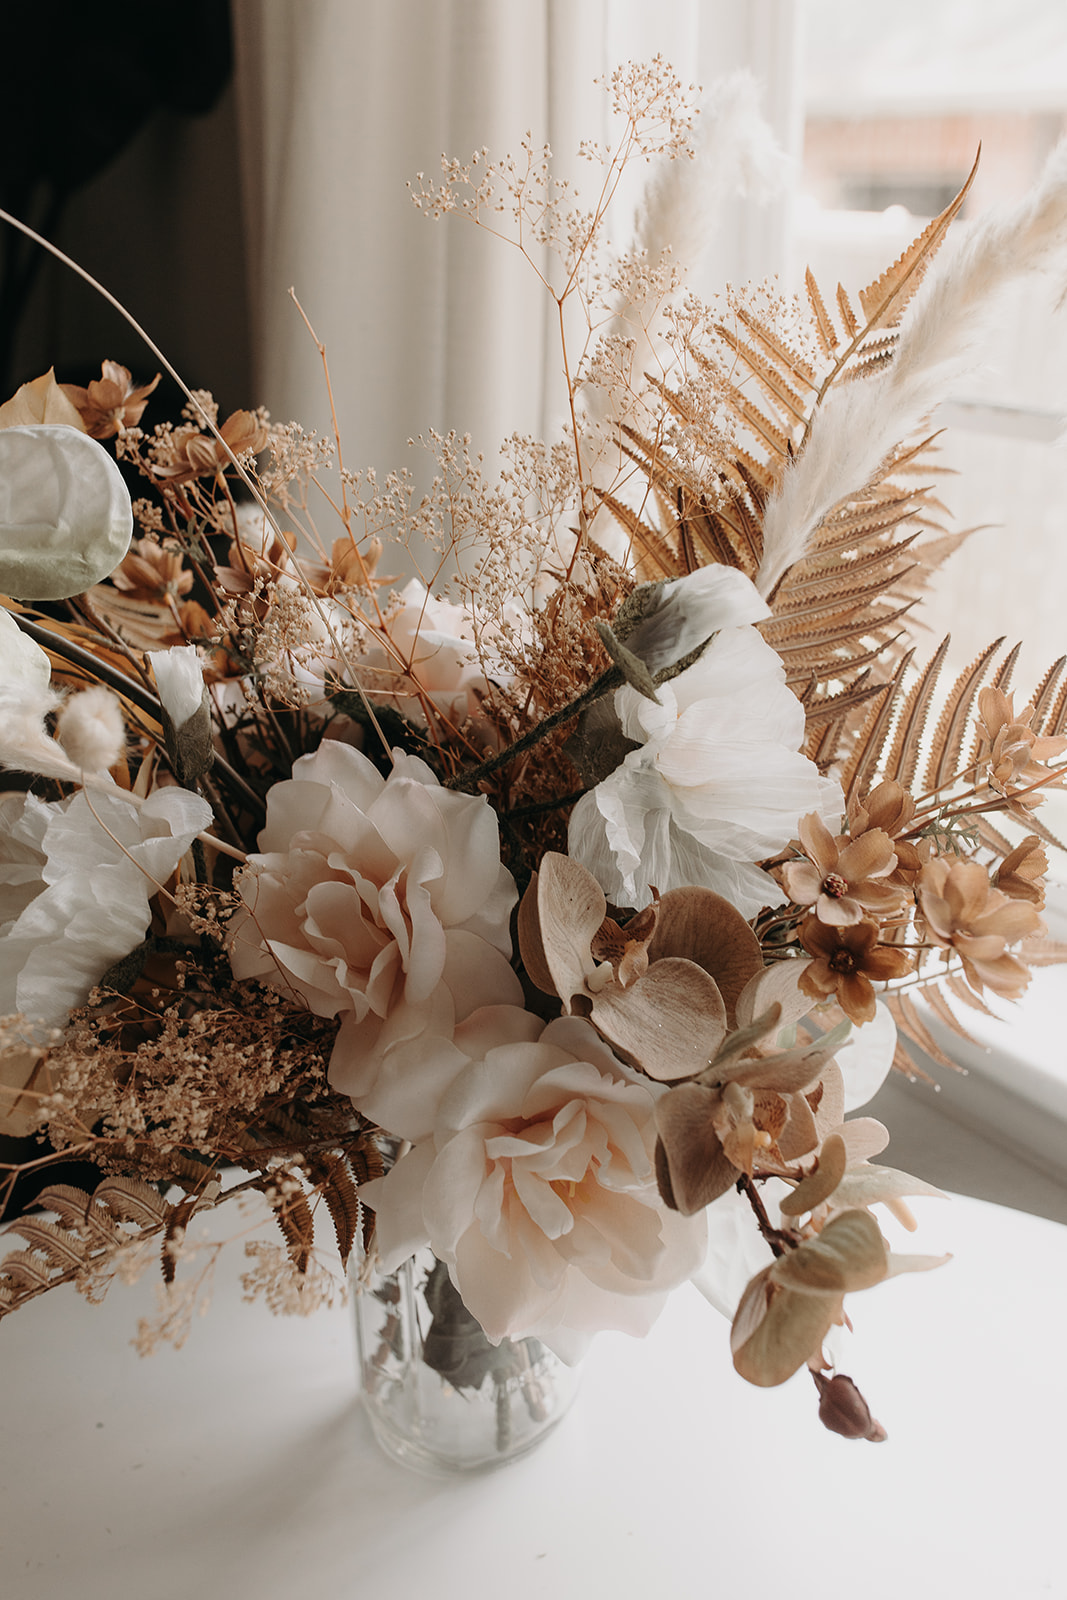
When selecting your florals, try to choose a combination of blooms on these three tiers: large, open-faced individual stems (like anthuriums, orchids, poppies + garden roses), groupings of “filler” flowers + leaves (like aspen branches, ferns + cosmos), and thin stems of wispy, neutral dried grasses (like bunny tails, dried gypsophyillia + baby pampas grass). Be sure the colors of each compliment each other well!
Silk + Dried Selections
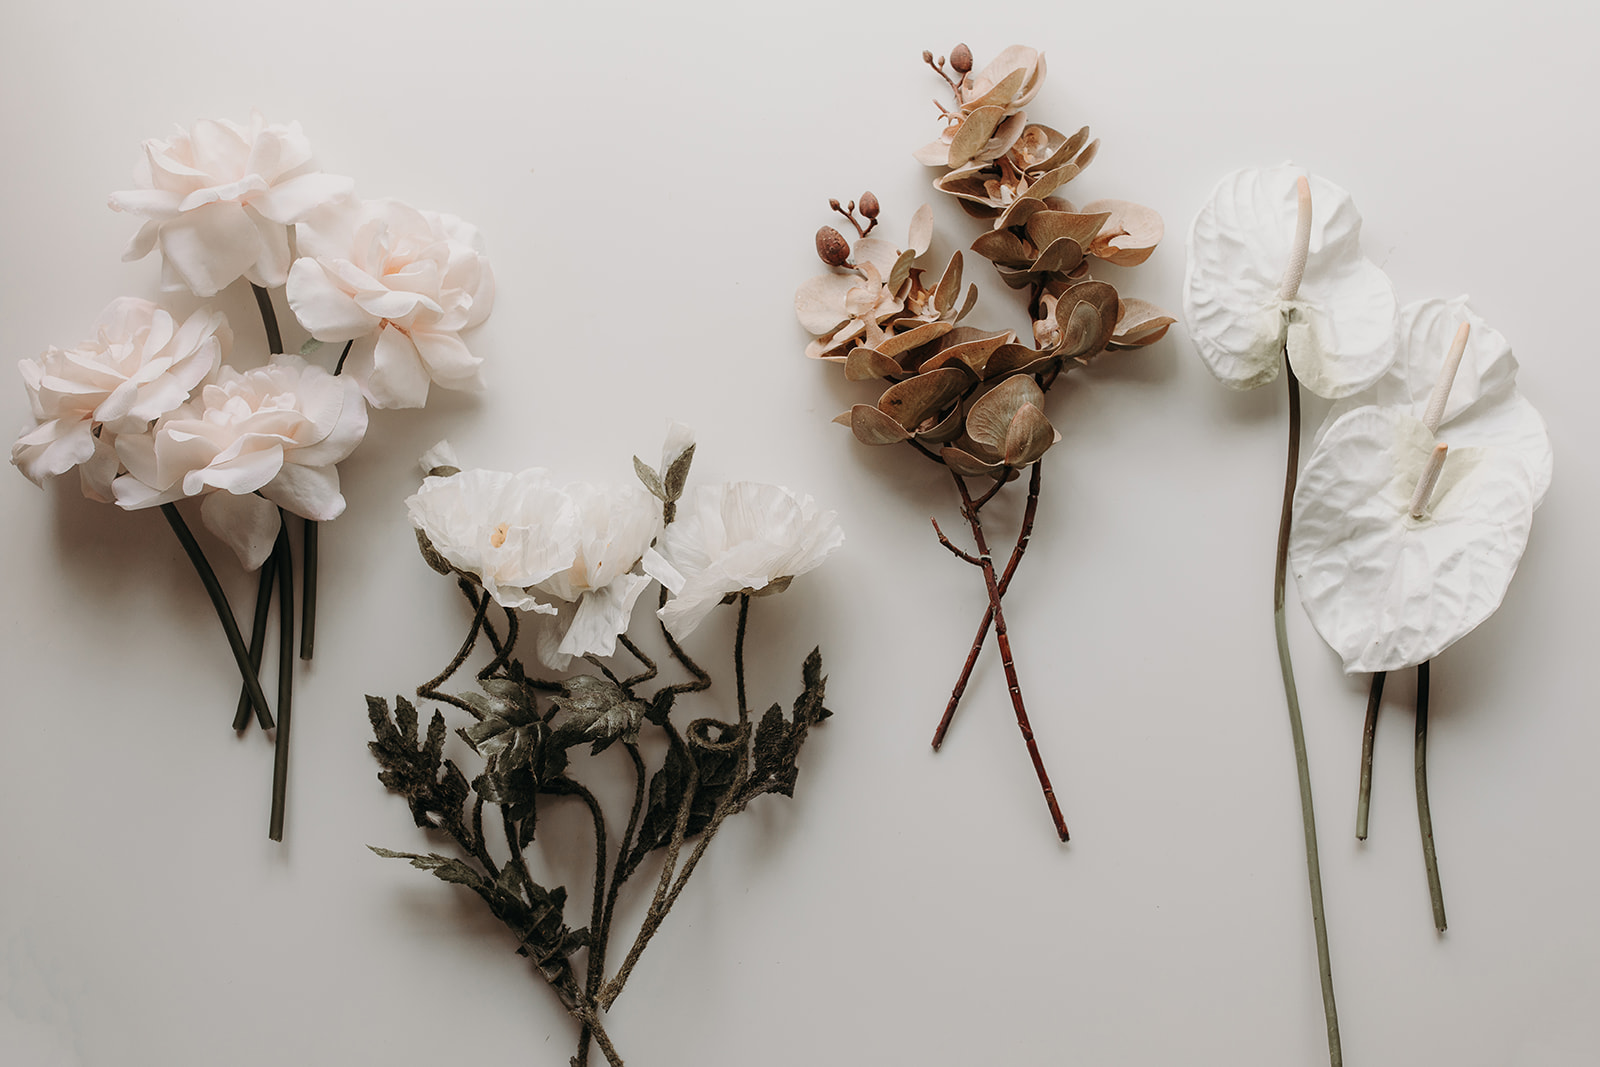
Larger, individual blooms – left to right: Garden Roses / Poppies / Orchids / Anthuriums
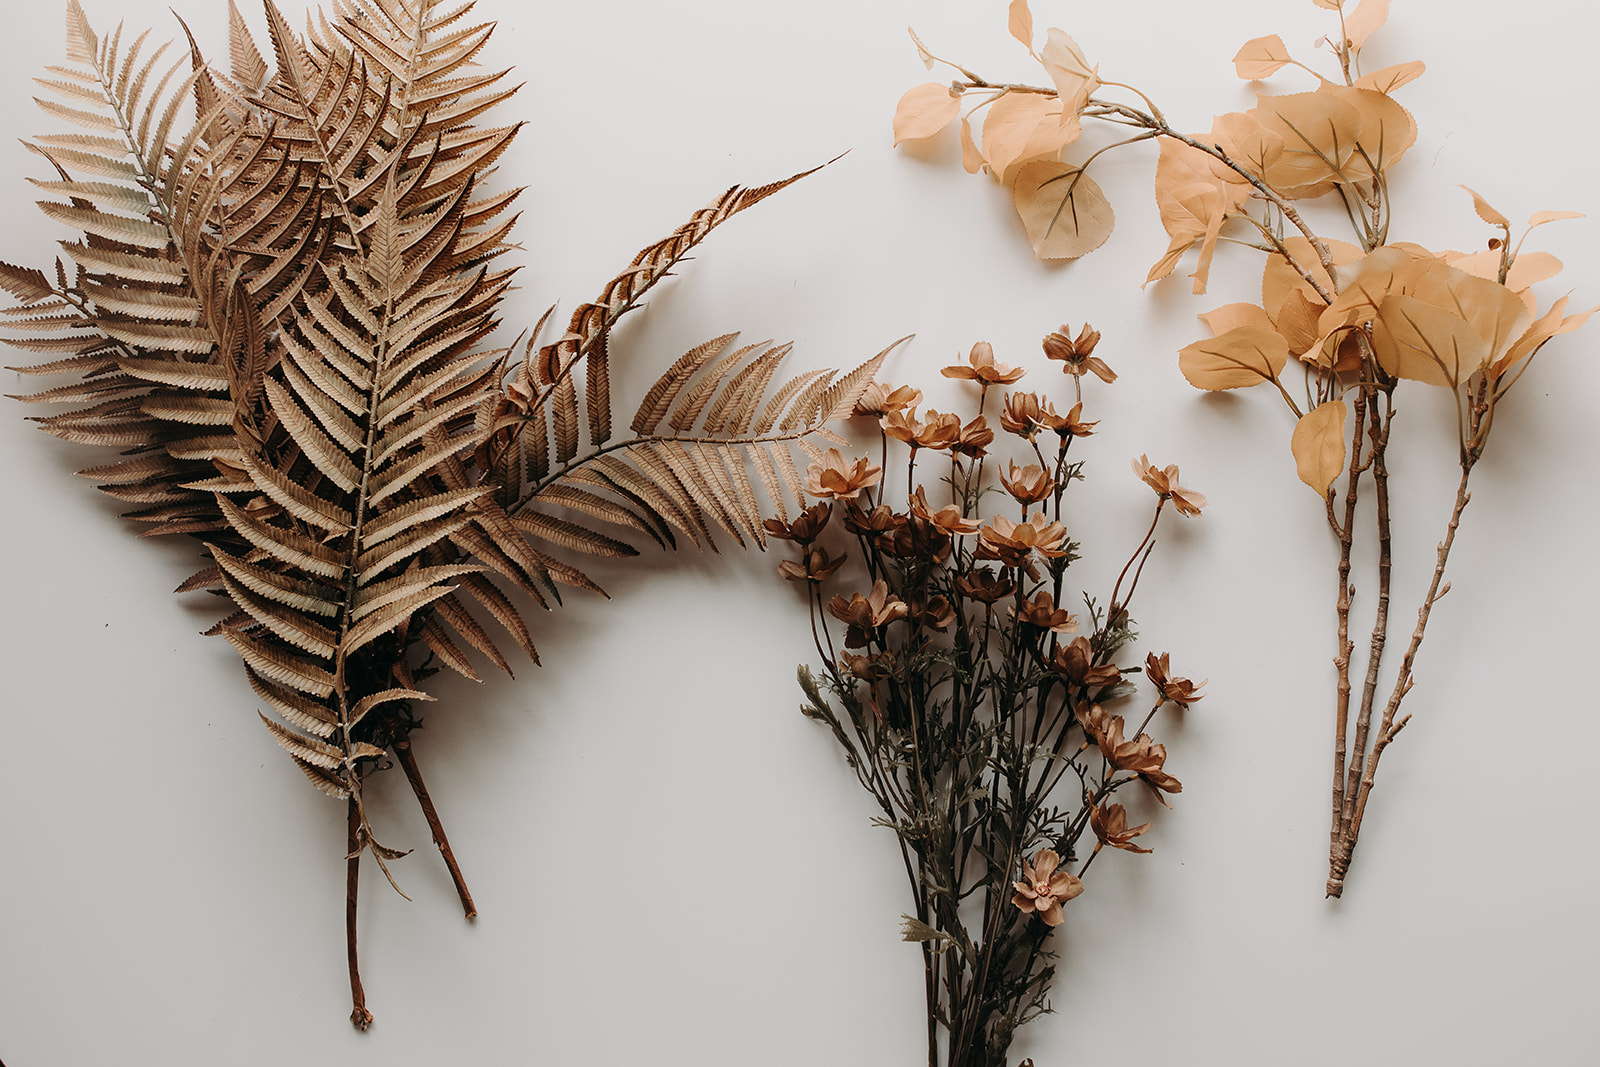
Filler flowers + leaves – left to right: Ferns / Cosmos spray / Aspen leaf spray
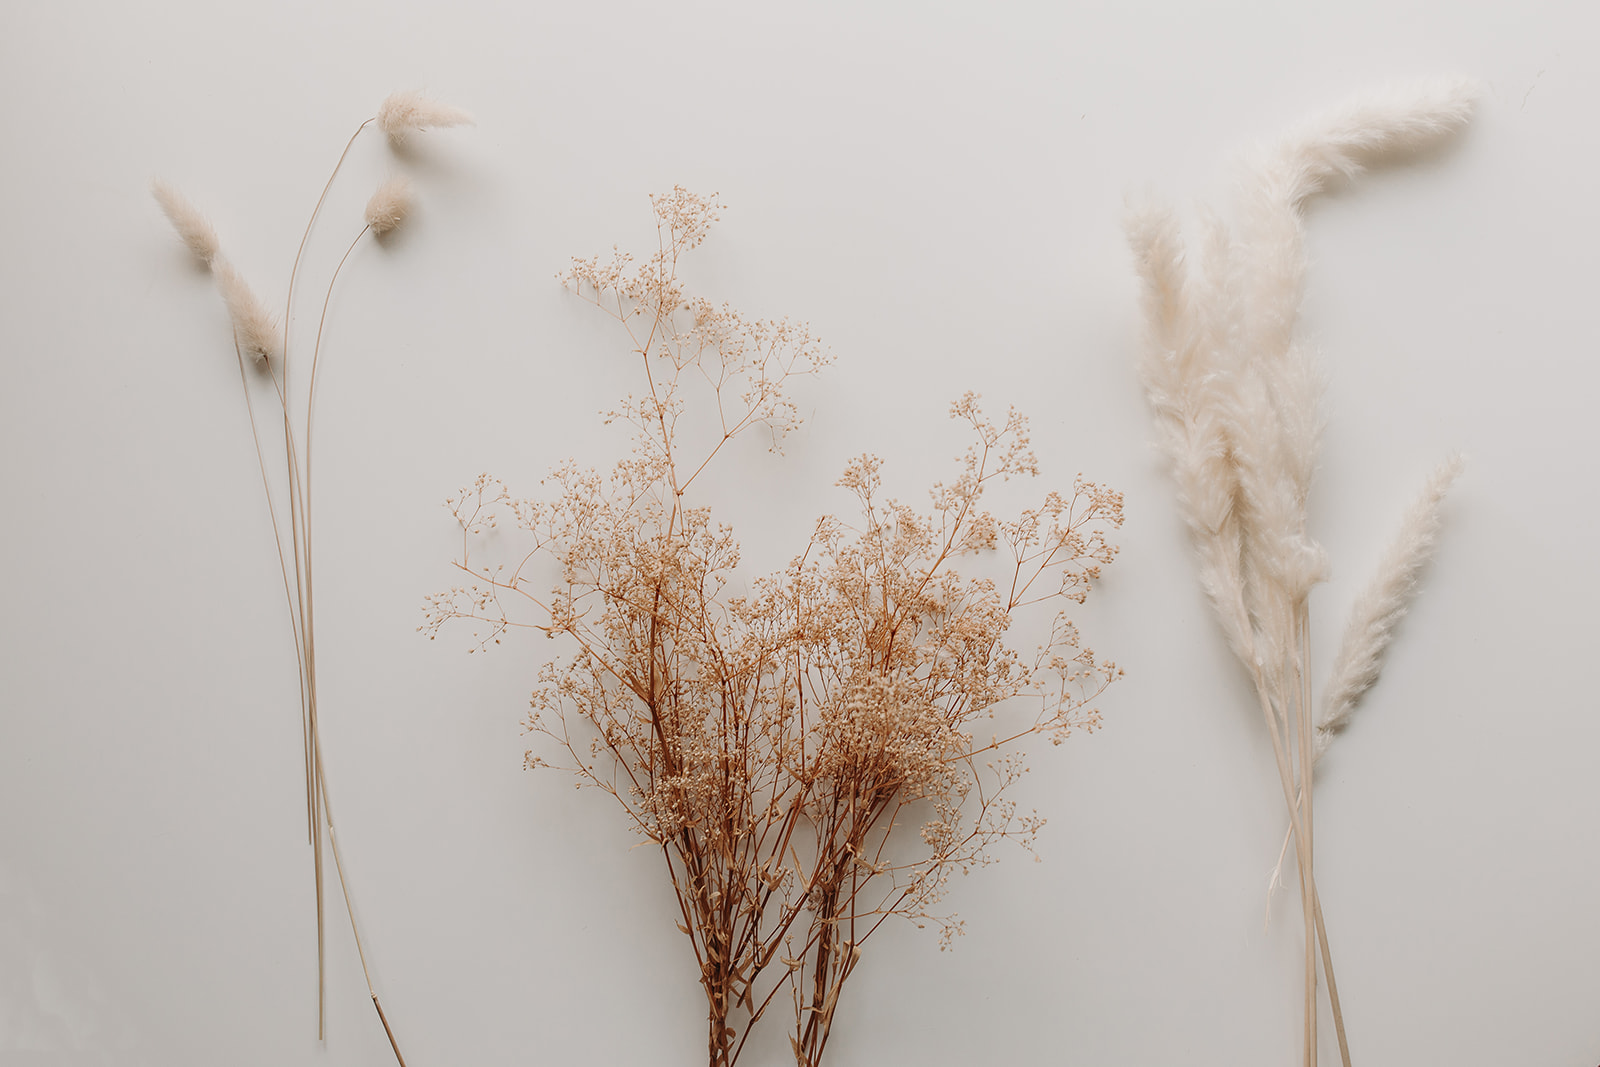
Dried grasses + sprigs – left to right: Dried bunny tails / Dried Gypsophila / Baby pampas grass
Ready to Arrange
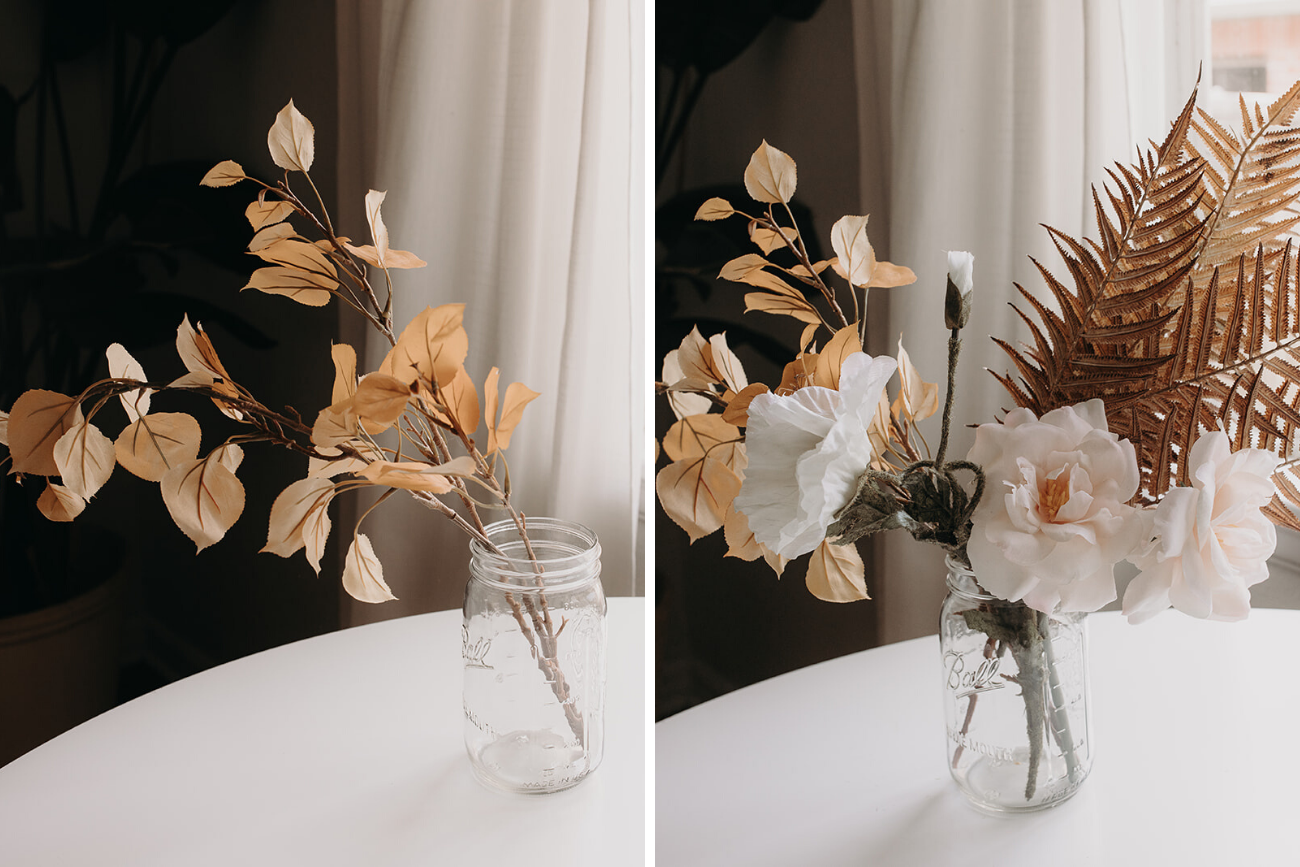
Start by placing your largest “filler” pieces. We like the long aspen branch because it hangs low + out the side, creating a messy, organic look.
Next, add in your second large filler piece, the fern stems. You can place these on the opposite side of the bouquet to the aspen branch, so it can act as a sort of asymmetrical visual balance. These two large filler pieces will help guide you as you fill in with other flowers.
Now, for those juicy blooms! We added two garden roses low in the front. These pretty open-faced blooms are the focal point of your bouquet. After that, we added two poppies in as a pair – one slightly higher than the other. Try adding your larger focal blooms as pairs to keep the bouquet from getting too chaotic. Feel free to add in ‘less perfect’ elements like a poppy bud or something to keep it earthy.
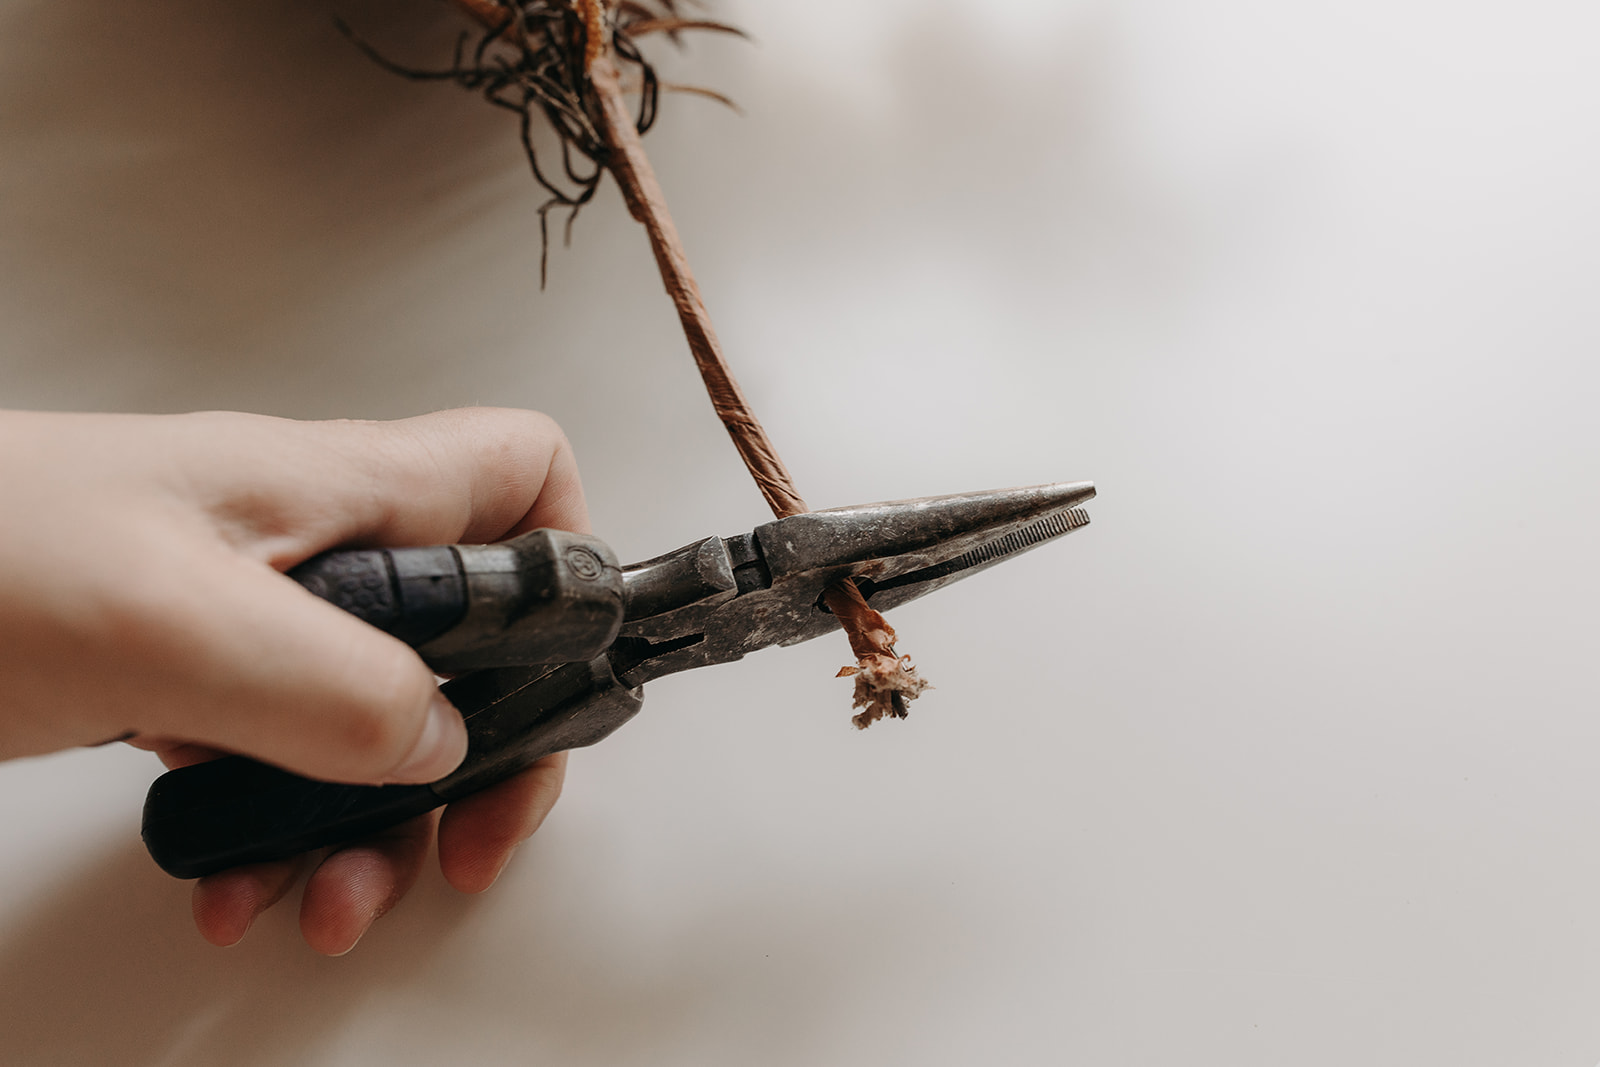
As you’re going, cut your stems according to how high you want them to sit in the bouquet. We wanted our filler branches to sit long + low. But for some of the main blooms, we cut shorter + stacked in the front.
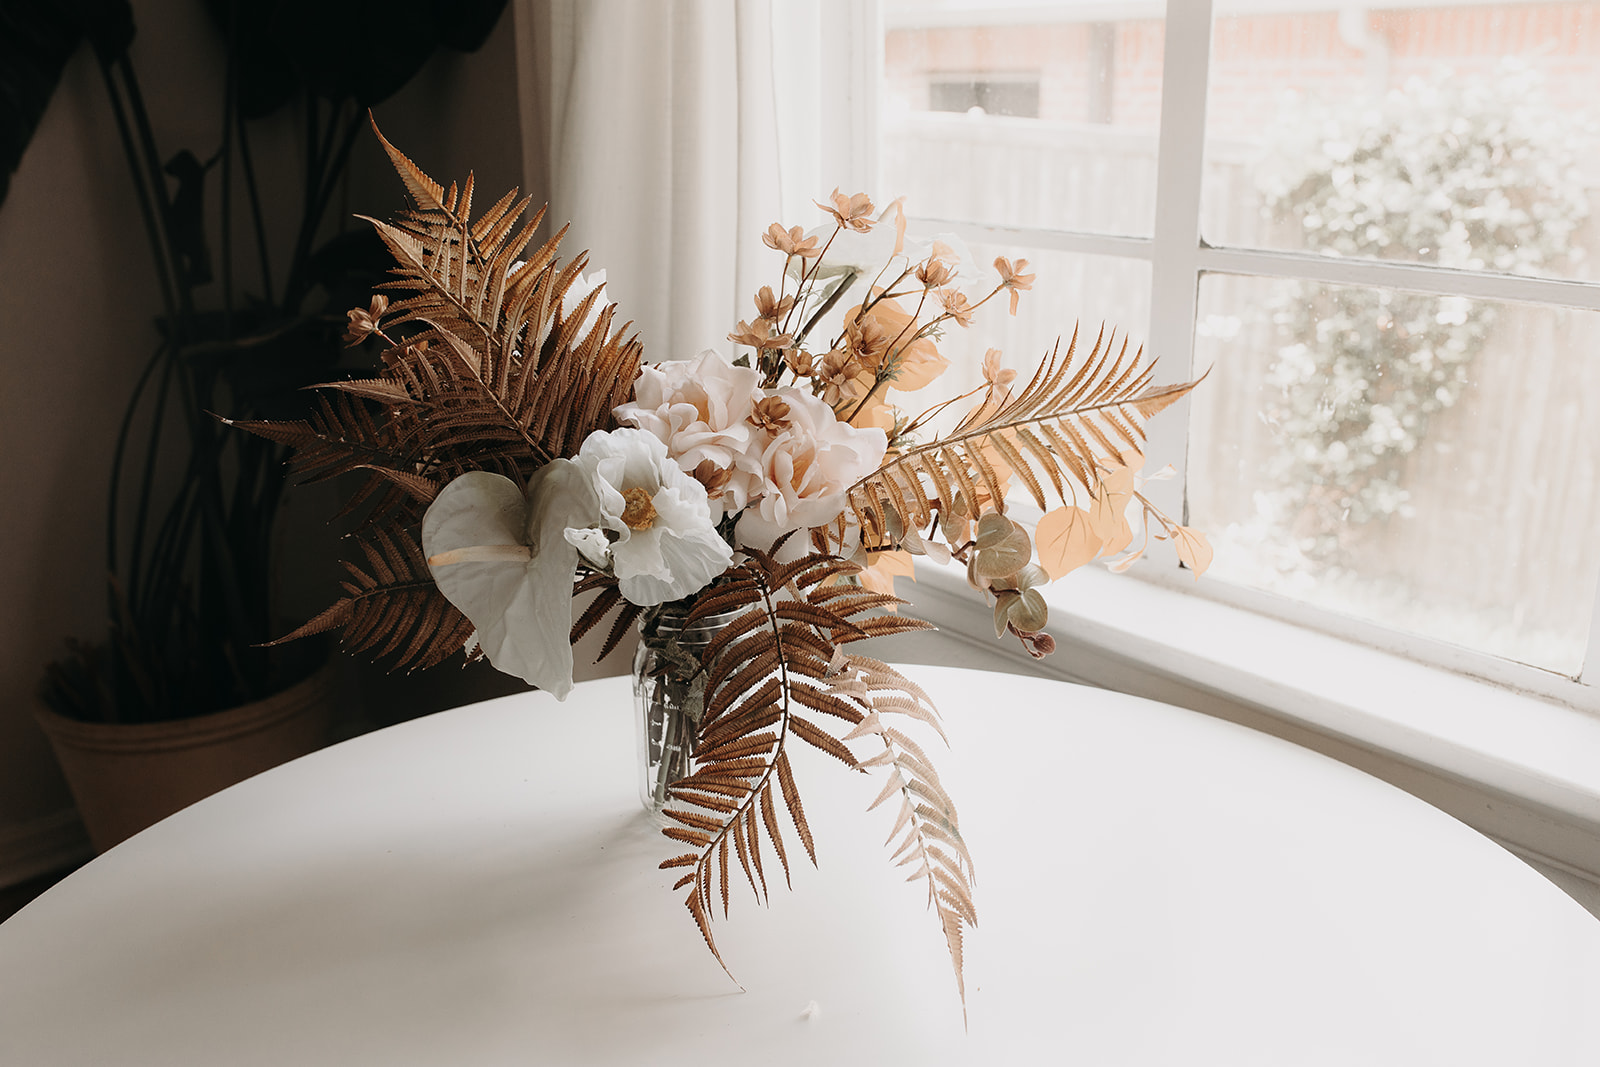
Next, play with adding individual fern stems, anthurium stems, orchid sprays + groupings of small cosmos flowers between the larger blooms. We love the look of varied lengths + heights!
Finally, add in small bunches of dried gypsophyllia + individual stems of bunny tails and grasses between all of the larger florals.
Time to Hand-tie
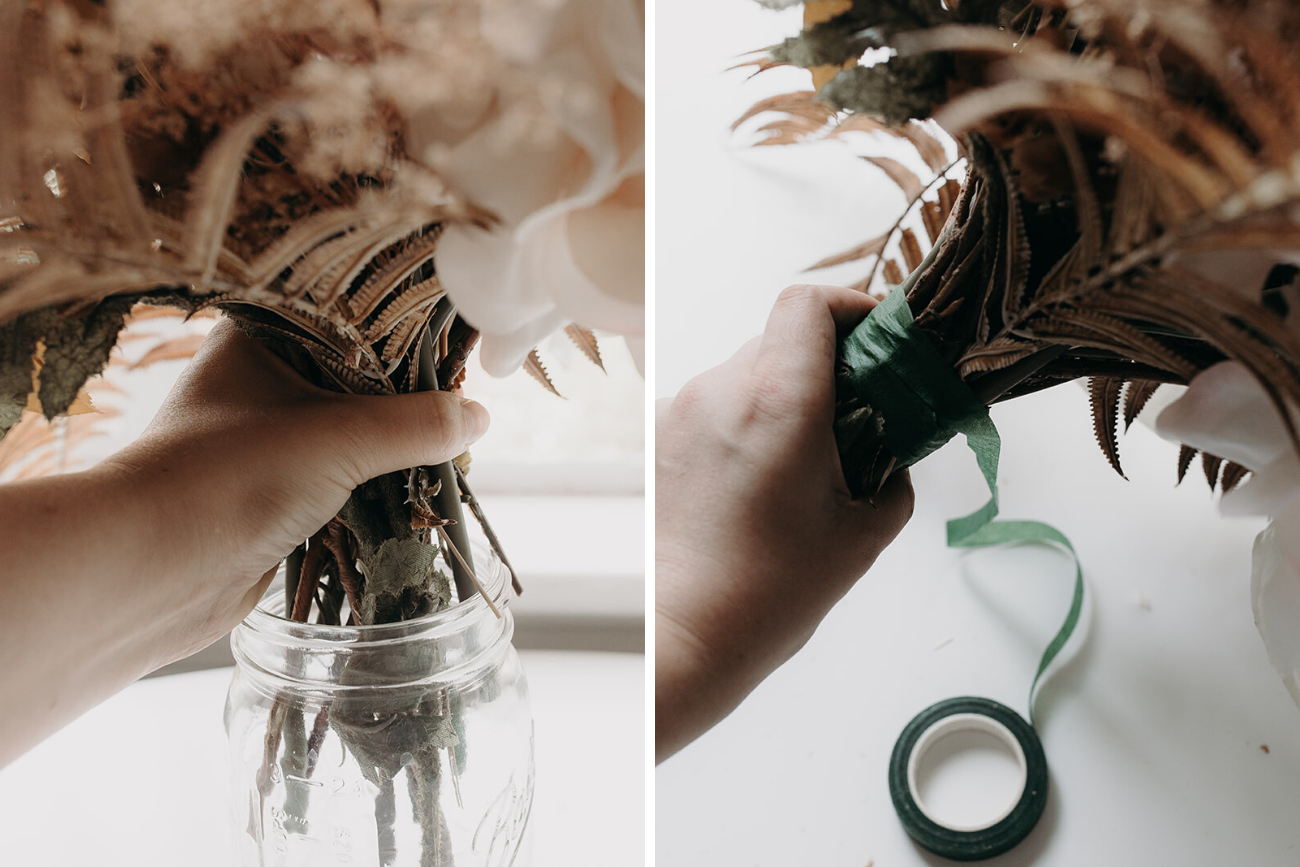
Yay! You’re done arranging and are ready to hand-tie this puppy. Pull your bouquet out and squeeze it firmly so that none of the stems fall out of place. Take your green floral tape and start wrapping it around the base of the bouquet, going up + down. Make sure you wrap several layers so that everything is secure. This type of tape has more adhesive the more it’s pulled.
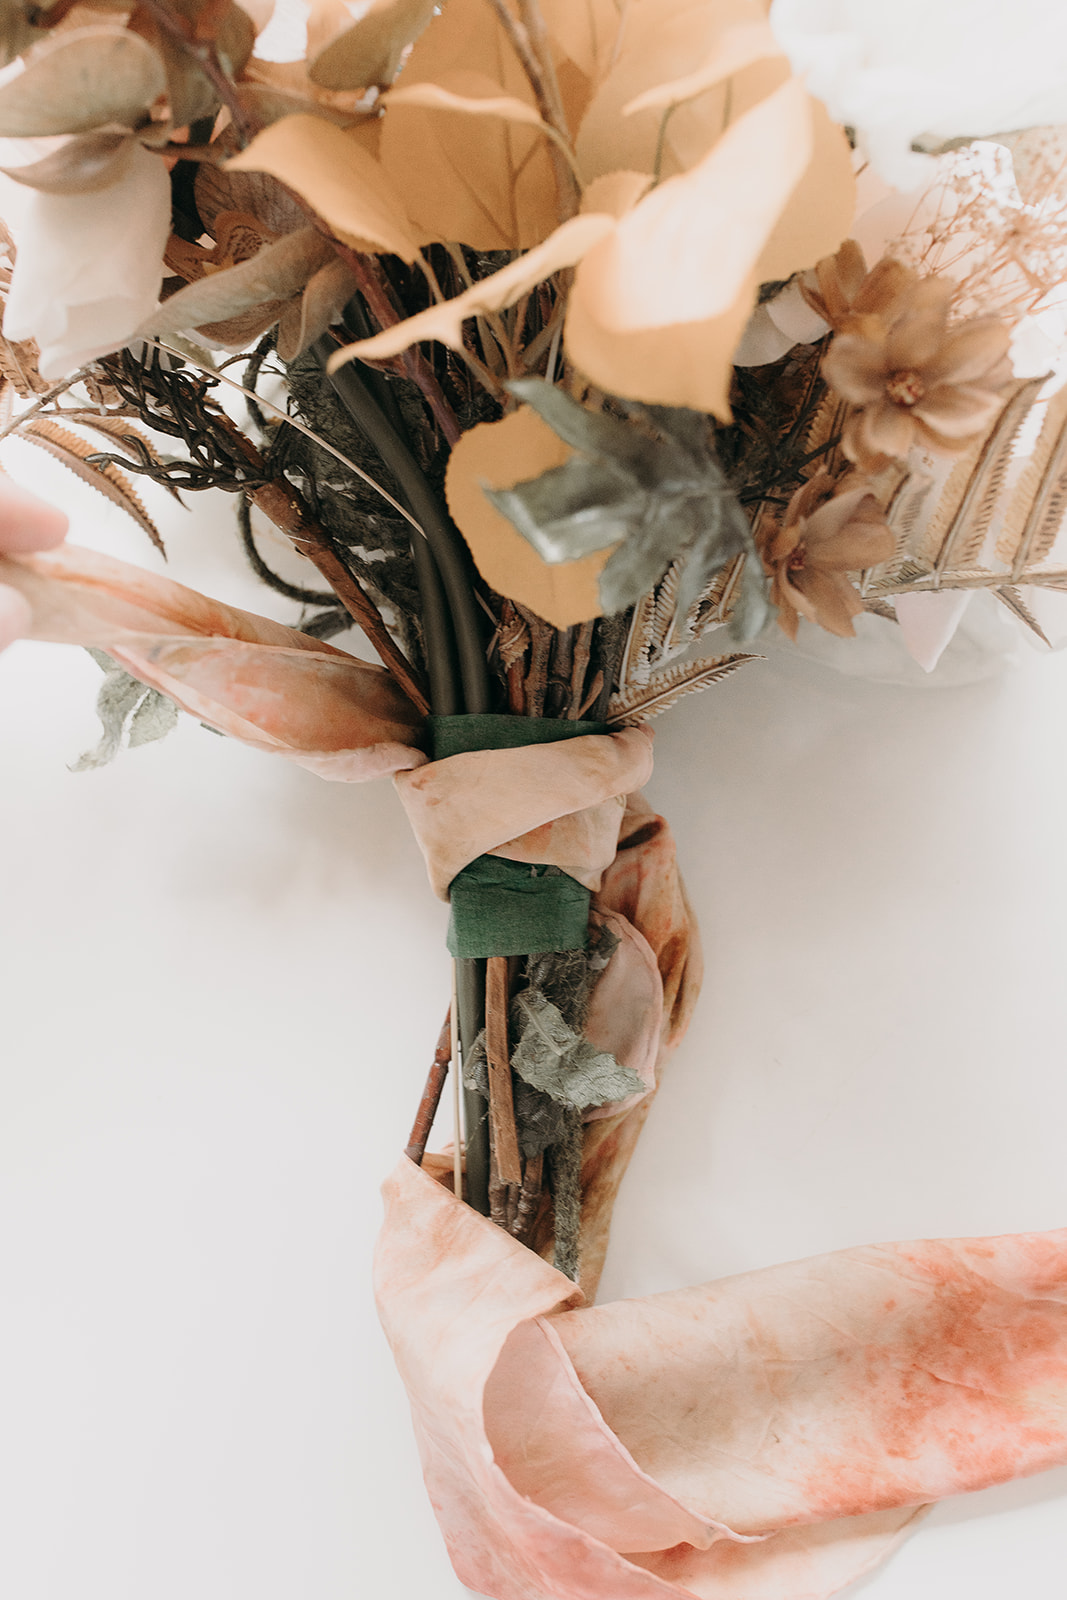
When your bouquet is secure, pinch the tape off or tie a small knot. Grab your dyed ribbon or scarf and wrap it around the base of the bouquet. Cover the green tape with your knot, make sure it’s secure…and you’re done!!

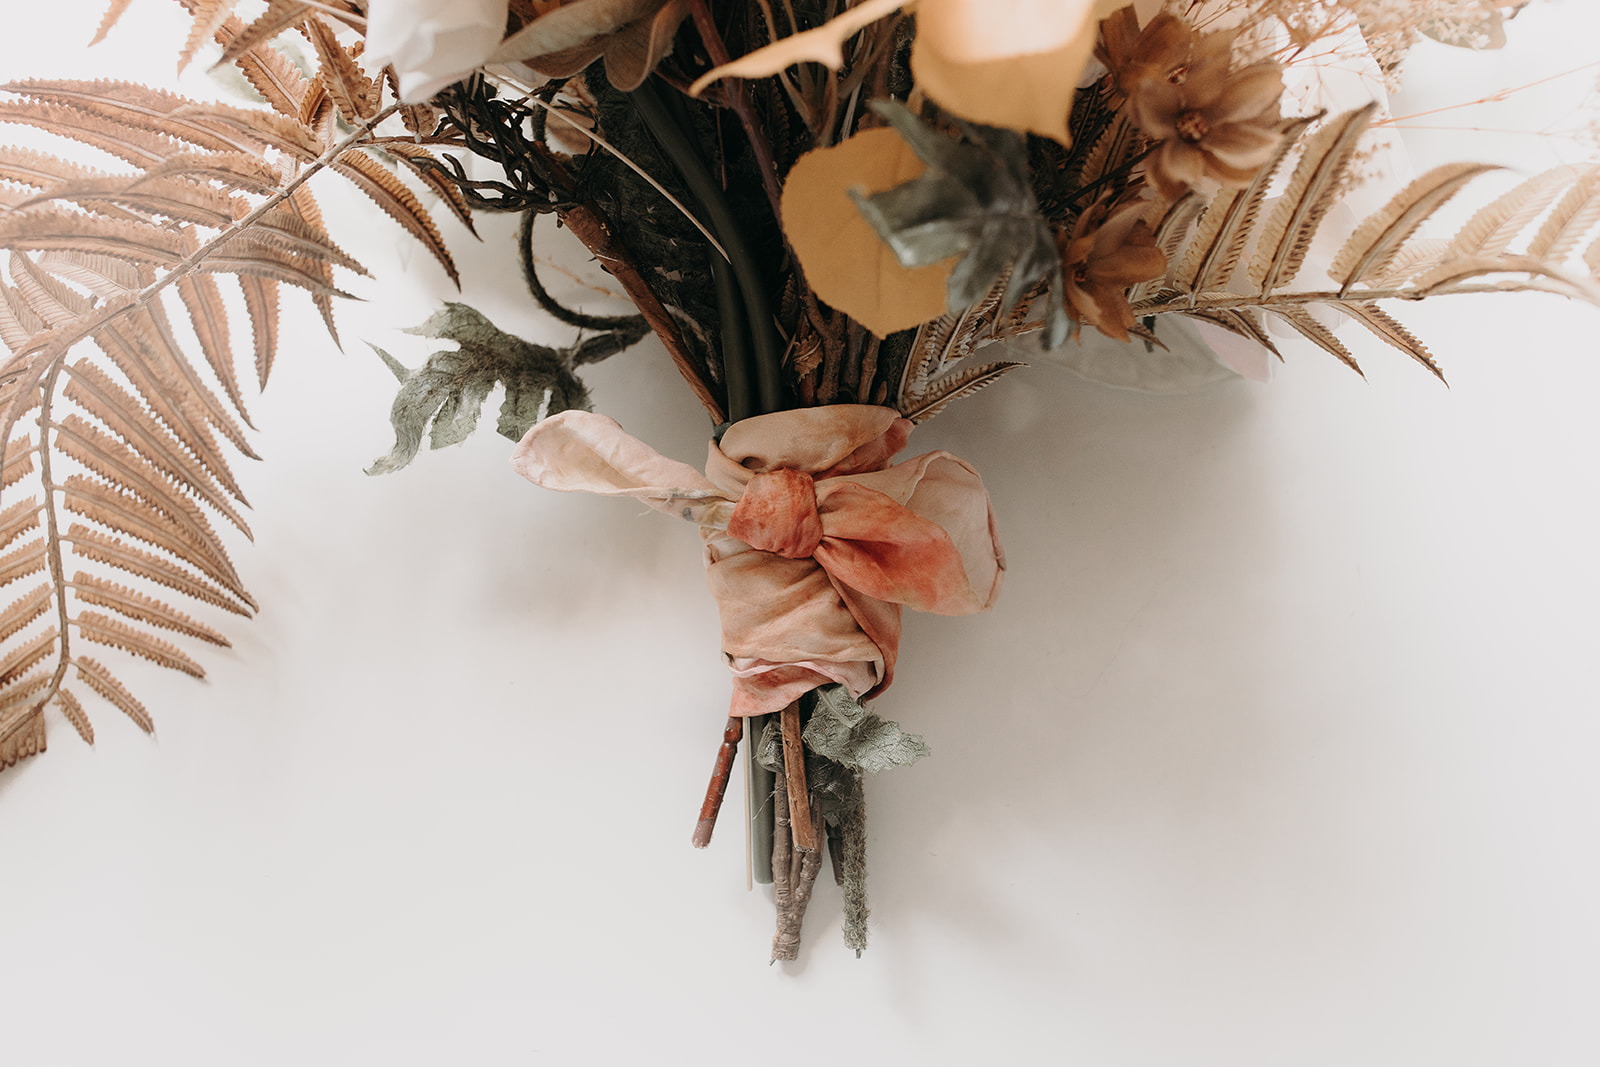
Faux Boho Bridal Bouquet
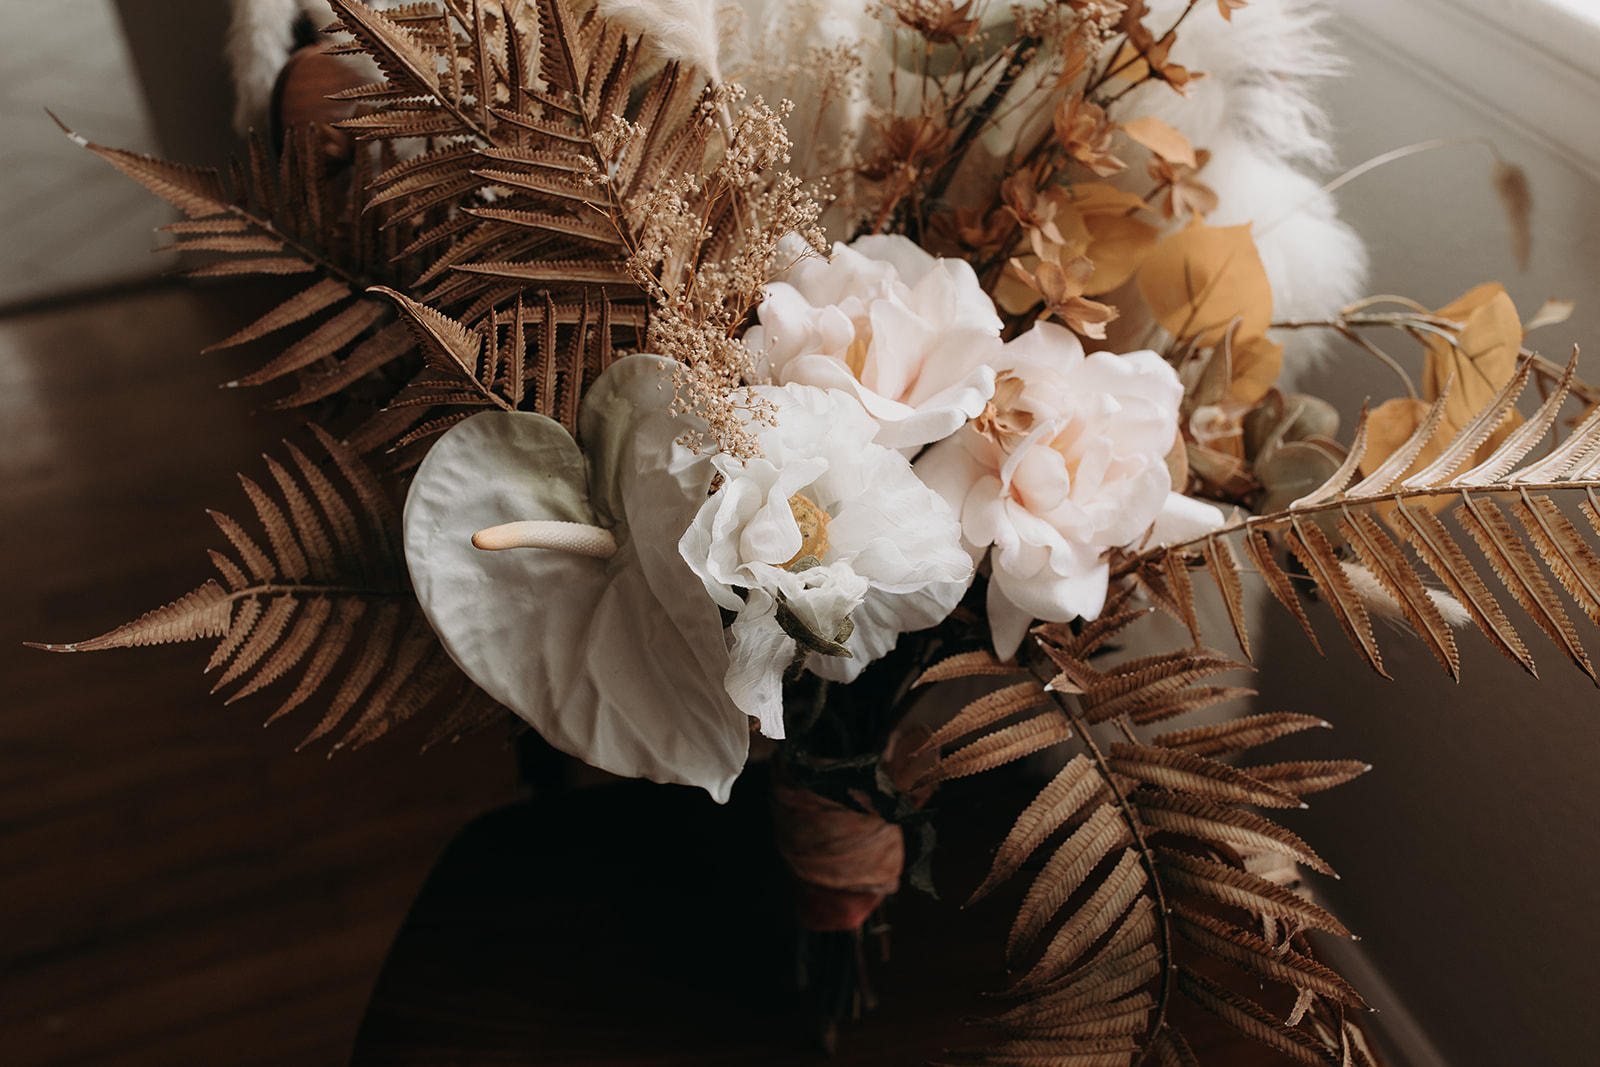
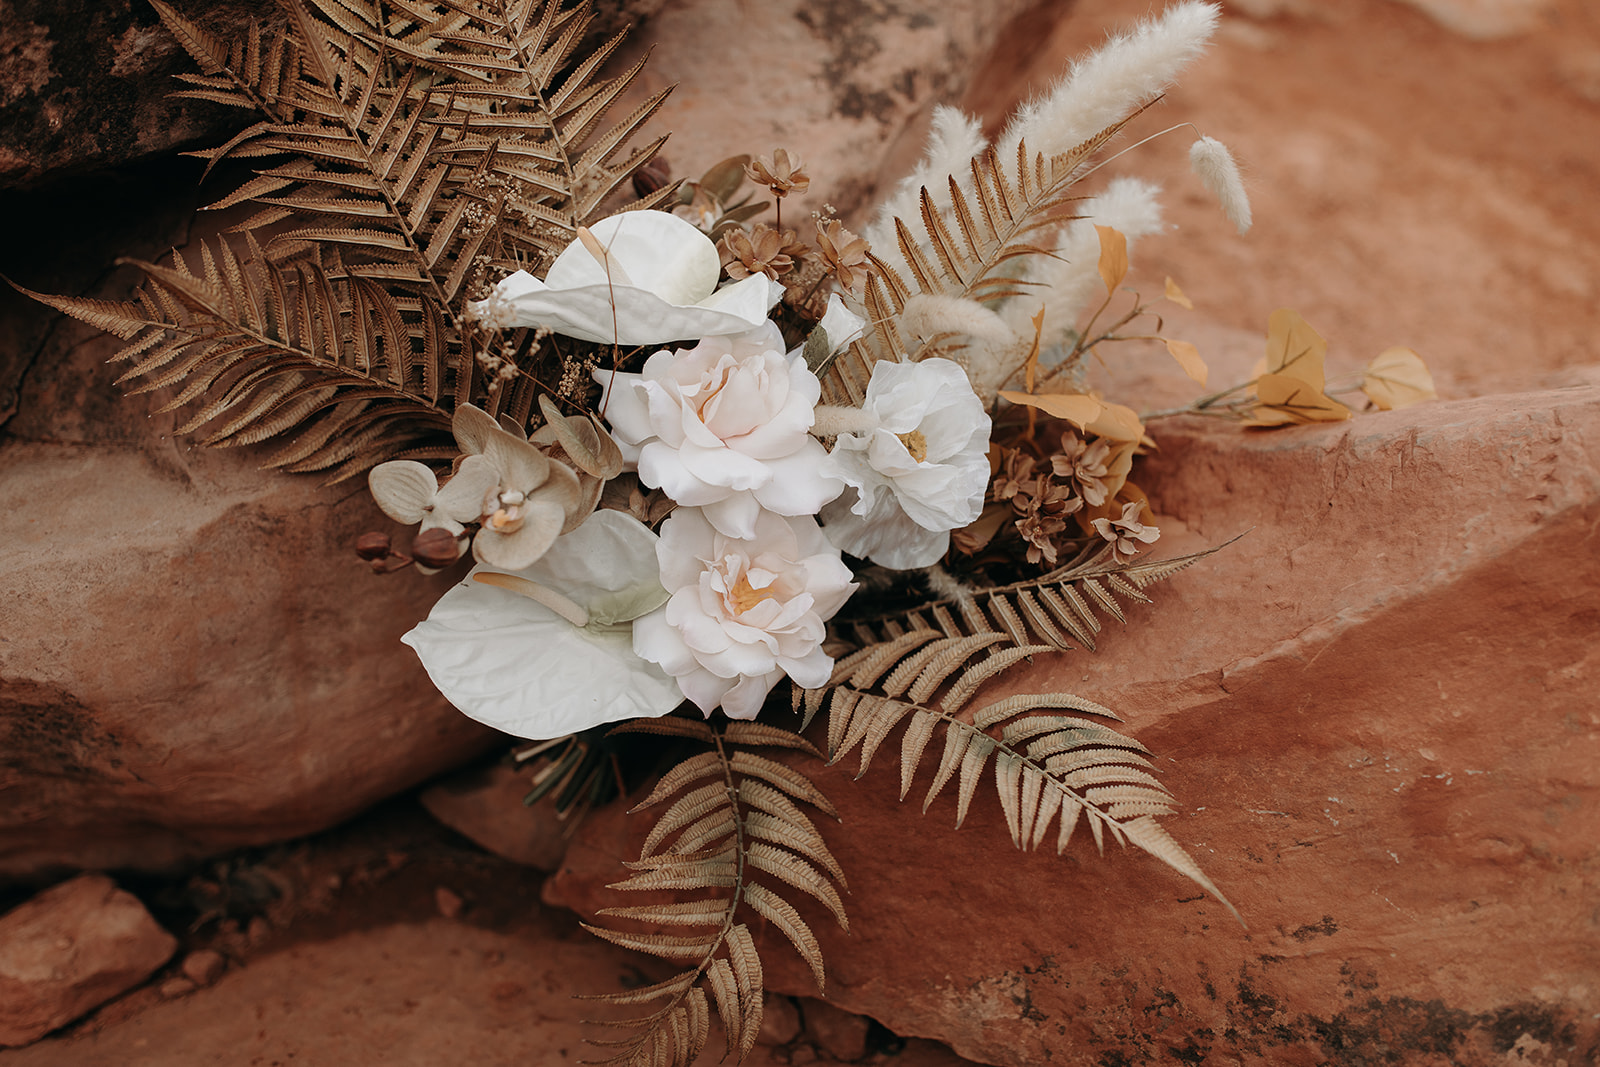
DIY dreams coming true here! The mix of silk + dried flowers and grasses give this bouquet a very authentic look.
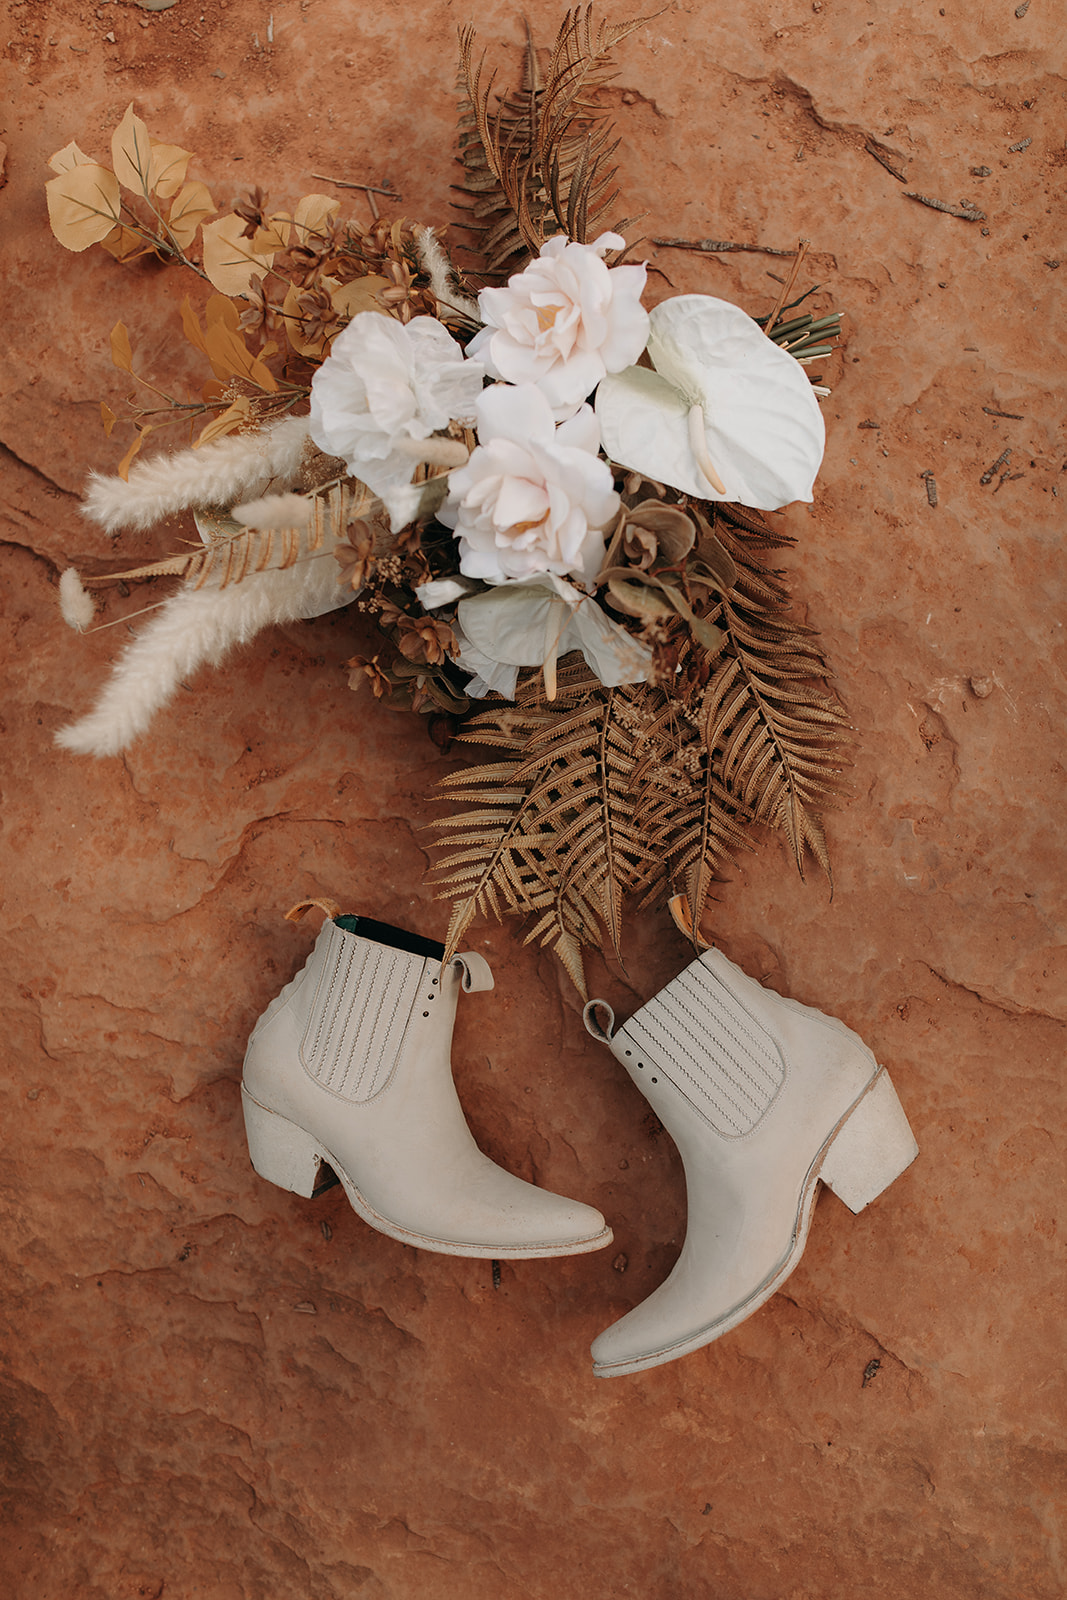
We just love the shape of this DIY bouquet – especially against the canyon rock. If you’re thinking of DIY bouquets, here’s a rad arrangement made with just dried flowers!
